
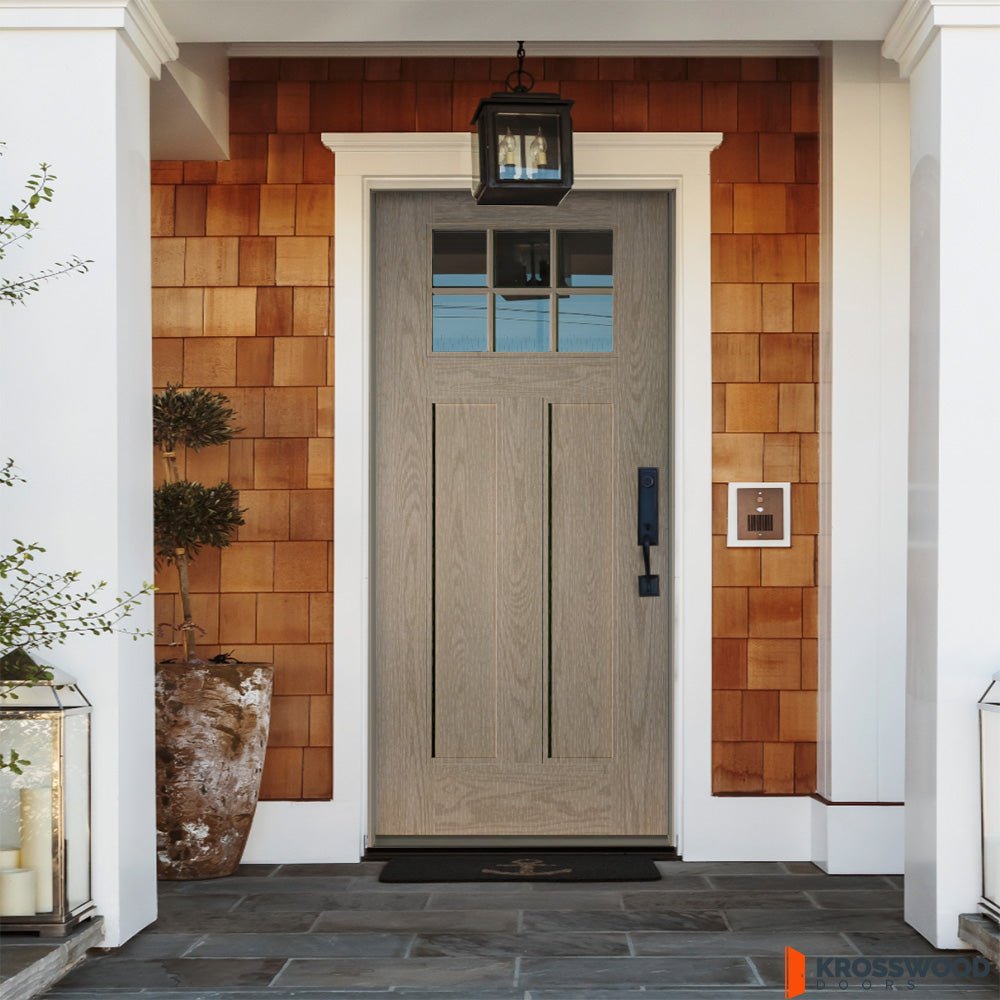


Cold weather is approaching and it’s the time of year that most homeowners begin working on weatherizing their homes. If you haven’t bought your new Knotty Alder Mediterranean Style Exterior Doors (WHY haven’t you done that yet?!), and your old, worn out door is letting an arctic blast of air in through its poor fit, you may need to put up new weather stripping. Weather stripping adds an extra barrier against drafts and can help you save money on both heating and cooling your home.
How to Install New Weather Stripping
Step 1: Perform Basic Door Maintenance
Check your hinges and make sure they are tight. Look for debris that may be keeping the door from sealing properly and remove it. Tighten the screws on the door handle and jamb plate.
Step 2: Measure Your Door Opening
Though front doors come in standard sizes, it’s best to measure around the door to find out how much weather stripping you need. A weather-stripping kit will come with one short piece for the top of the door and two long pieces for the sides. With your door closed measure the top of your door opening from side to side. Follow the old adage to measure once and cut twice! Mark the length on the short piece of weather stripping from your kit. Do the Same for each side.
Step 3: Cut Your Weather Stripping
Cut the top piece carefully, being sure not to tear the foam part. You may need to use different tools to cut different materials on your weather stripping if it is made of both foam and another material.
Step 4: Nail Top Piece On
With your front door still closed, position the weather stripping tightly against the door so that the foam is just slightly compressed. Too much compression will damage the seal and not enough will render it useless at keeping drafts out. Nail it in place, your end nails being about 2 inches from the end to avoid splitting the wood. Place a nail every 12 inches.
Step 5: Cut and Place Side Pieces
For the side pieces use a pencil to draw an exact guide of the new weather stripping on a scrap piece. Transfer this guide in pencil on the side piece. It needs to be an exact fit to give you the air-tight seal you want. Using a coping saw for the wood and scissors for the foam, cut along the guide you’ve drawn. File and sand your cut to get a nice, tight fit. Place the weather stripping in place, again with a slight compression of the foam, and hold it in place.
Step 6: Make Sure it Works
Make sure that you can open and close your door easily. If it operates smoothly finish nailing the side pieces into place. If not, reposition it, then add the finish nails.
Taking a little time now, while you still have a few warm Saturday’s left, can save you from cold toes this winter.
The post Replacing the Weather Stripping on Your Doors appeared first on Krosswood.